Beats Studio Pro Headphones
A practical step-by-step guide to beats studio pro headphones, including preparation, instructions, common issues, tips, and next steps.

Beats Studio Pro Headphones
This guide will walk you through setting up and using your Beats Studio Pro headphones. You'll learn how to pair them with your devices, master their controls, and make the most of features like Active Noise Cancellation and Spatial Audio. Whether you're a first-time user or just need a refresher, this guide helps you get the best experience from your headphones quickly and safely.
Fast Answer
- Pairing with Apple: Open case near device
- Pairing with Android: Bluetooth settings menu
- ANC/Transparency: Double-press power button
- Volume Control: Top/bottom of 'b' logo
Before You Start
- Make sure your **Beats Studio Pro headphones** are charged. A quick 10-minute charge can give you hours of listening.
- Have your **device ready** (iPhone, Android phone, tablet, or computer) that you intend to pair the headphones with.
- Ensure your device's **Bluetooth is turned on** and discoverable.
- For Apple devices, make sure your **iOS or iPadOS is up to date** for the best pairing and feature experience.
- For Android devices, consider downloading the **Beats app** from the Google Play Store for additional features and firmware updates.
- Have a **USB-C charging cable** available, along with a power adapter or a computer USB port for charging.
Step-by-Step Instructions
1. Unbox and Charge Your Beats Studio Pro
Carefully **remove your Beats Studio Pro headphones from their packaging**. Inside, you'll find the headphones, a carrying case, a USB-C to USB-C charging cable, and a 3.5mm audio cable. Before doing anything else, it's best to **fully charge your headphones**. Connect the USB-C cable to the charging port on the right earcup and plug the other end into a power source. The indicator light on the right earcup will show the charging status. It will pulse white while charging and turn solid white when fully charged.
2. Pair with an Apple Device (iPhone, iPad, Mac)
Pairing your Beats Studio Pro with an Apple device is incredibly simple thanks to the Apple H2 chip integration. First, make sure your Apple device's **Bluetooth is enabled**. Unlock your iPhone or iPad and bring the headphones, with their power on, close to it. The headphones power button is on the right earcup. Once powered on, a **setup card will automatically appear** on your device's screen. Simply **tap 'Connect'** and follow any on-screen prompts. Your Beats Studio Pro will then be paired with all your Apple devices linked to your iCloud account.
3. Pair with an Android Device or Other Bluetooth Devices
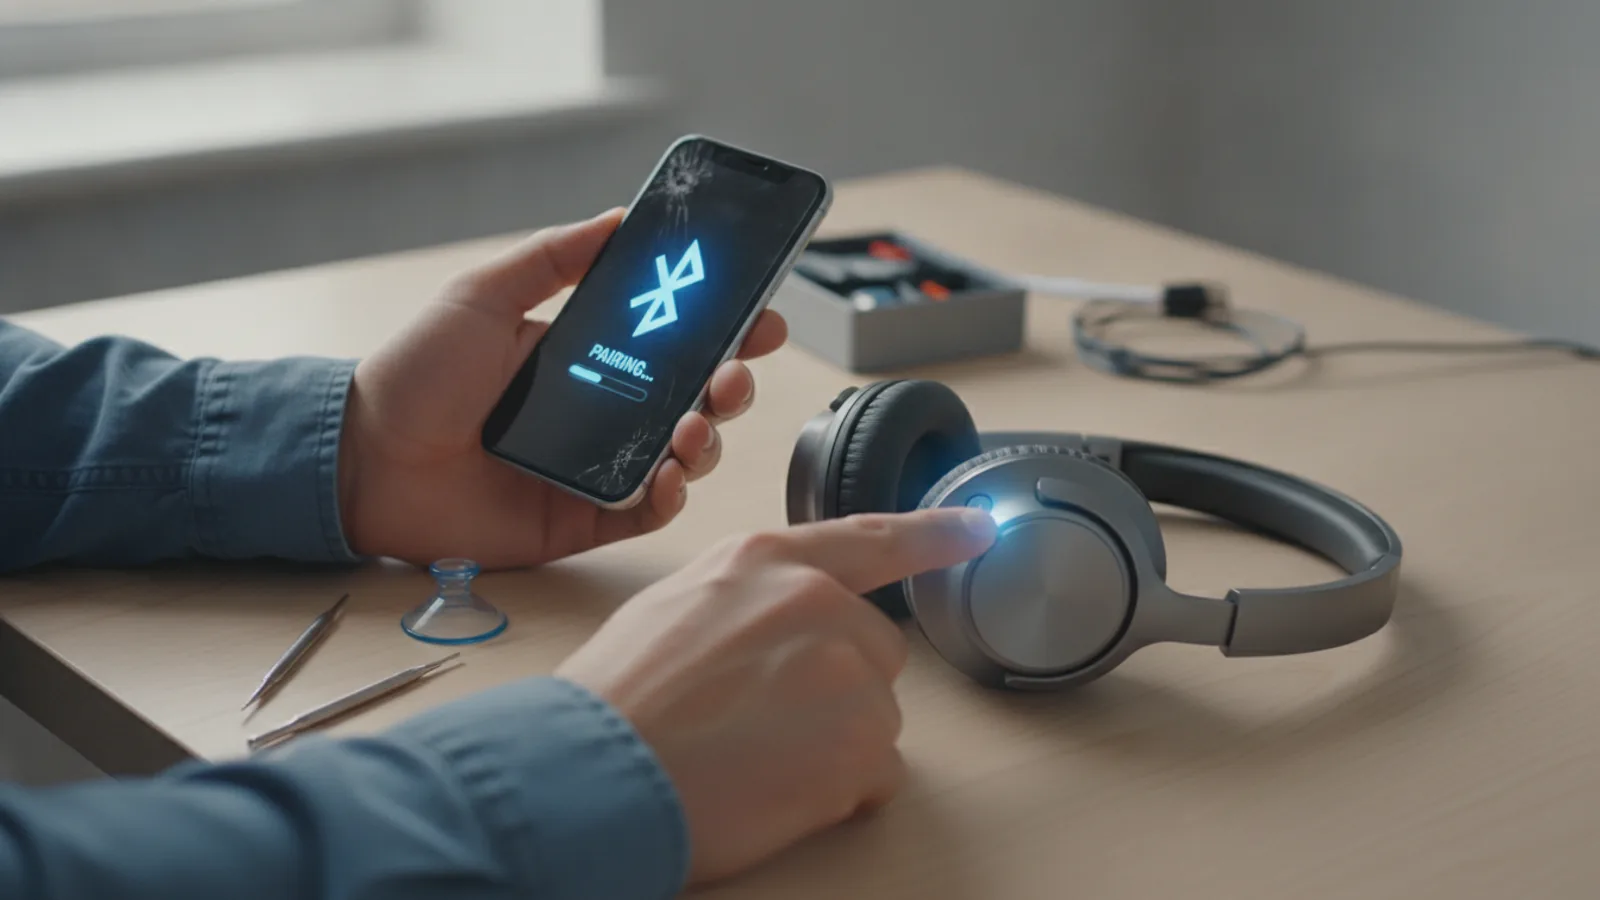
If you're pairing with an Android phone, a Windows PC, or any other non-Apple Bluetooth device, the process is a standard Bluetooth pairing method. First, **power on your Beats Studio Pro headphones**. The indicator light will start pulsing white. Then, **press and hold the power button** on the right earcup for about 3-5 seconds until the indicator light begins to **flash white rapidly**. This means the headphones are in pairing mode. On your Android device or computer, **go to your Bluetooth settings** and search for available devices. You should see "Beats Studio Pro" appear in the list. **Select it to connect**. The indicator light will turn solid white once successfully paired.
4. Understand the Main Controls
The Beats Studio Pro have intuitive physical controls located on the earcups. The main control button is the **'b' logo on the left earcup**. This button is multi-functional:
- **Press once:** Play/pause audio, answer/end calls.
- **Press twice:** Skip to the next track.
- **Press three times:** Go back to the previous track.
- **Press and hold:** Activate your device's voice assistant (Siri, Google Assistant).
Above and below the 'b' logo on the left earcup are the **volume controls**. Press the top part to **increase volume** and the bottom part to **decrease volume**. The **power button** on the right earcup also functions as a mode switch. It can be double-pressed to cycle between Active Noise Cancellation and Transparency Mode, which we'll cover next.
5. Use Active Noise Cancellation (ANC) and Transparency Mode
Your Beats Studio Pro headphones feature two powerful listening modes: Active Noise Cancellation (ANC) and Transparency Mode. **Active Noise Cancellation** blocks out external sounds, allowing you to focus purely on your audio. **Transparency Mode** uses microphones to let outside sounds in, so you can hear your surroundings without taking off your headphones – great for staying aware of traffic or conversations. To switch between these modes, **double-press the power button** located on the right earcup. A chime will play to indicate the mode change, and on Apple devices, a notification will appear on screen.
6. Experience Spatial Audio
Beats Studio Pro support **Spatial Audio**, an immersive sound experience that places sounds all around you, making it feel like music or movies are coming from different directions. This feature works best with compatible content (like Apple Music with Dolby Atmos, or certain movies/TV shows) and an Apple device running recent iOS/iPadOS versions. To enable or check Spatial Audio settings on an Apple device, **swipe down from the top-right corner** (or up from the bottom on older iPhones) to open Control Centre. **Press and hold the volume slider** when your Beats Studio Pro are connected. Here, you'll see the Spatial Audio option, which you can turn on for compatible content.
7. Perform Basic Care and Storage
To keep your Beats Studio Pro in excellent condition and ensure their longevity, some basic care is essential. Always **store your headphones in their included carrying case** when not in use. This protects them from dust, scratches, and accidental damage. **Avoid exposing them to extreme temperatures** (very hot or very cold) or high humidity. If the earcups or headband become dirty, gently **wipe them with a soft, dry, lint-free cloth**. Do not use harsh chemicals or abrasive cleaners, as these can damage the finish. Keep the charging port and headphone jack clean and free of debris.
8. Check and Update Firmware
Keeping your Beats Studio Pro firmware up to date is crucial for optimal performance, bug fixes, and new features. For **Apple device users**, firmware updates happen automatically when your Beats Studio Pro are connected to your iPhone or iPad and the device is connected to Wi-Fi. You can check the current firmware version in **Settings > Bluetooth**, tap the information 'i' icon next to your Beats Studio Pro, and scroll down. For **Android users**, you'll need the **Beats app**. Open the app with your headphones connected, and it will notify you if an update is available. Follow the in-app instructions to install any updates. Ensure your headphones are charged during an update.
Quick Reference
| Situation | Use this | Why |
|---|---|---|
| Need to block noise | Double-press power button (switch to ANC) | Reduces external sounds for focused listening. |
| Need to hear surroundings | Double-press power button (switch to Transparency) | Allows ambient sound in, keeping you aware. |
| Play/Pause audio or Answer/End call | Press 'b' logo once | Quick control for media and calls. |
| Skip to next track | Press 'b' logo twice | Convenient for music navigation. |
| Activate voice assistant | Press and hold 'b' logo | Access Siri, Google Assistant, etc. hands-free. |
| Increase/Decrease Volume | Press top/bottom of 'b' logo | Easy volume adjustment without reaching for device. |
| Reset headphones (for issues) | Hold power and 'b' buttons for 10 seconds | Resolves many common software glitches. |
Common Problems When You Use Beats Studio Pro Headphones
Headphones Not Pairing or Disconnecting Frequently
If your Beats Studio Pro are having trouble pairing or keep losing connection, start by ensuring both your headphones and device are **fully charged**. A low battery can cause unstable connections. Next, try **turning Bluetooth off and on again** on your device. For persistent issues, **forget the Beats Studio Pro** from your device's Bluetooth settings (if it was previously paired) and try the pairing process from step 2 or 3 again. A soft reset of your headphones can also help: **hold down both the power button and the 'b' button for 10 seconds** until the indicator light flashes red and white.
Sound Quality Issues (Distorted, Muffled, or One Earcup)
Poor sound quality can be frustrating. First, check that your **audio source** (the song, video, or call) isn't the problem by trying different media. Ensure your headphones are **clean**, especially around the speaker grilles, as dust or debris can affect sound. If only one earcup is working, check your device's **audio balance settings** to ensure it's not skewed to one side. For Apple devices, go to **Settings > Accessibility > Audio/Visual**. Restarting both your headphones and your connected device often resolves minor audio glitches. If using the 3.5mm audio cable, ensure it's fully plugged in at both ends.
Active Noise Cancellation (ANC) Not Working Effectively
If you feel ANC isn't as strong as it should be, first ensure it's **correctly activated** (double-press the power button). Check that the **earcups are forming a good seal** around your ears. Adjust the headband and earcup position for a snug fit. Gaps can let in outside noise, reducing ANC effectiveness. Also, **clean the microphones** located on the earcups, as dirt can impair their ability to detect and cancel external sounds. Finally, ensure your **firmware is up to date**, as improvements to ANC performance can be included in updates.
Battery Draining Too Quickly
Rapid battery drain can be caused by a few factors. **Always having ANC or Transparency Mode active** will use more power than just standard listening. If you don't need these features, switch them off. Ensure your headphones are **powering off fully** when not in use; sometimes they might stay in a low-power connected state. Check for **firmware updates**, as battery optimisation improvements are often released. If your headphones are older, battery degradation can be a natural process. Using the headphones in **extreme cold or heat** can also temporarily affect battery performance.
Advanced Tips for Beats Studio Pro Headphones
Optimising Spatial Audio with Head Tracking
For an even more immersive Spatial Audio experience on Apple devices, check if "Personalised Spatial Audio" is enabled. This feature customises Spatial Audio to your unique ear shape. On your iPhone, go to **Settings > Bluetooth**, tap the 'i' icon next to your Beats Studio Pro, and look for "Spatial Audio & Head Tracking." Here you can set it to **"Fixed"** (audio stays in place relative to your device) or **"Head Tracked"** (audio stays in place even when you move your head, creating a true theatre-like experience). Experiment with both to see which you prefer for different types of content.
Customising Controls and Device Switching (Apple)
On Apple devices, your Beats Studio Pro benefit from seamless automatic device switching. If you're watching a movie on your iPad and a call comes in on your iPhone, the headphones will automatically switch to your iPhone. You can also manually switch from the AirPlay menu in Control Centre. For minor control customisation, go to **Settings > Bluetooth**, tap the 'i' icon, and you may find options for what the long press on the 'b' button activates (e.g., Siri or a noise cancellation toggle, depending on your OS version).
Maximising Battery Health and Lifespan
To get the longest life out of your headphones' battery, avoid constantly depleting it to 0% and charging it to 100%. Aim to keep the charge between **20% and 80%** when possible. Store your headphones in a cool, dry place away from direct sunlight. If you won't be using them for an extended period (weeks or months), charge them to around 50% before storing, and then recharge them to 50% every few months to prevent deep discharge.
Using Wired Connection for High-Quality Audio
The Beats Studio Pro include a **3.5mm audio cable**, allowing you to use them in a wired fashion. This is particularly useful if your battery is flat or if you want to connect to devices without Bluetooth, like some older entertainment systems. Importantly, the wired connection on Beats Studio Pro is designed for high-fidelity audio, supporting lossless audio up to **24-bit/48 kHz**. For critical listening or studio monitoring, this wired option can provide superior sound quality compared to Bluetooth, especially when paired with a compatible source.
Beats Studio Pro Headphones FAQ
How long does the battery last on Beats Studio Pro?
The Beats Studio Pro offer up to **40 hours of listening time** on a single charge with Active Noise Cancellation (ANC) or Transparency Mode turned off. With ANC or Transparency Mode active, you can expect up to **24 hours** of listening. A quick 10-minute Fast Fuel charge can provide up to 4 hours of playback when the battery is low.
Can I use Beats Studio Pro with a non-Apple device?
Yes, absolutely. Beats Studio Pro are designed to work seamlessly with Apple devices but are also fully compatible with Android phones, Windows PCs, and other Bluetooth-enabled devices. You pair them like any other Bluetooth headphone by putting them in pairing mode and selecting them in your device's Bluetooth settings.
Are Beats Studio Pro waterproof or water-resistant?
No, Beats Studio Pro headphones are **not waterproof or water-resistant**. They are designed for general use and are not intended for use during heavy rain, swimming, or in very humid environments. Exposure to liquids can cause damage and is not covered under warranty. Keep them dry to ensure their longevity.
What is the difference between Active Noise Cancellation and Transparency Mode?
**Active Noise Cancellation (ANC)** uses microphones to detect external sounds and then creates an opposite sound wave to cancel them out, providing a quiet listening experience. **Transparency Mode** also uses microphones but amplifies external sounds and mixes them with your audio, allowing you to hear your surroundings without removing your headphones. You switch between them by double-pressing the power button.
How do I reset my Beats Studio Pro headphones?
To reset your Beats Studio Pro, **press and hold both the power button and the 'b' button** on the left earcup for approximately **10 seconds**. Release the buttons when the LED indicator light begins to flash red and white. This will clear their settings and unpair them from all devices, which can help resolve connectivity or performance issues.
Final Checklist for Beats Studio Pro Headphones
- **Unpacked and fully charged:** Your headphones are ready for use.
- **Successfully paired:** Connected to your primary listening device (phone, tablet, computer).
- **Controls understood:** You know how to play/pause, adjust volume, skip tracks, and answer calls.
- **ANC/Transparency mastered:** You can switch between listening modes effectively.
- **Spatial Audio considered:** You know how to enable and enjoy immersive sound.
- **Basic care routine established:** You are storing them safely and cleaning them correctly.
- **Firmware checked and updated:** Your headphones are running the latest software for best performance.
- **Troubleshooting knowledge:** You understand how to address common issues like pairing problems or sound glitches.
By following this guide, you should now be an expert in using your Beats Studio Pro headphones. Enjoy your high-quality audio experience!