Black Line On Laptop Screen Dell
A practical step-by-step guide to black line on laptop screen dell, including preparation, instructions, common issues, tips, and next steps.
Black Line On Laptop Screen Dell
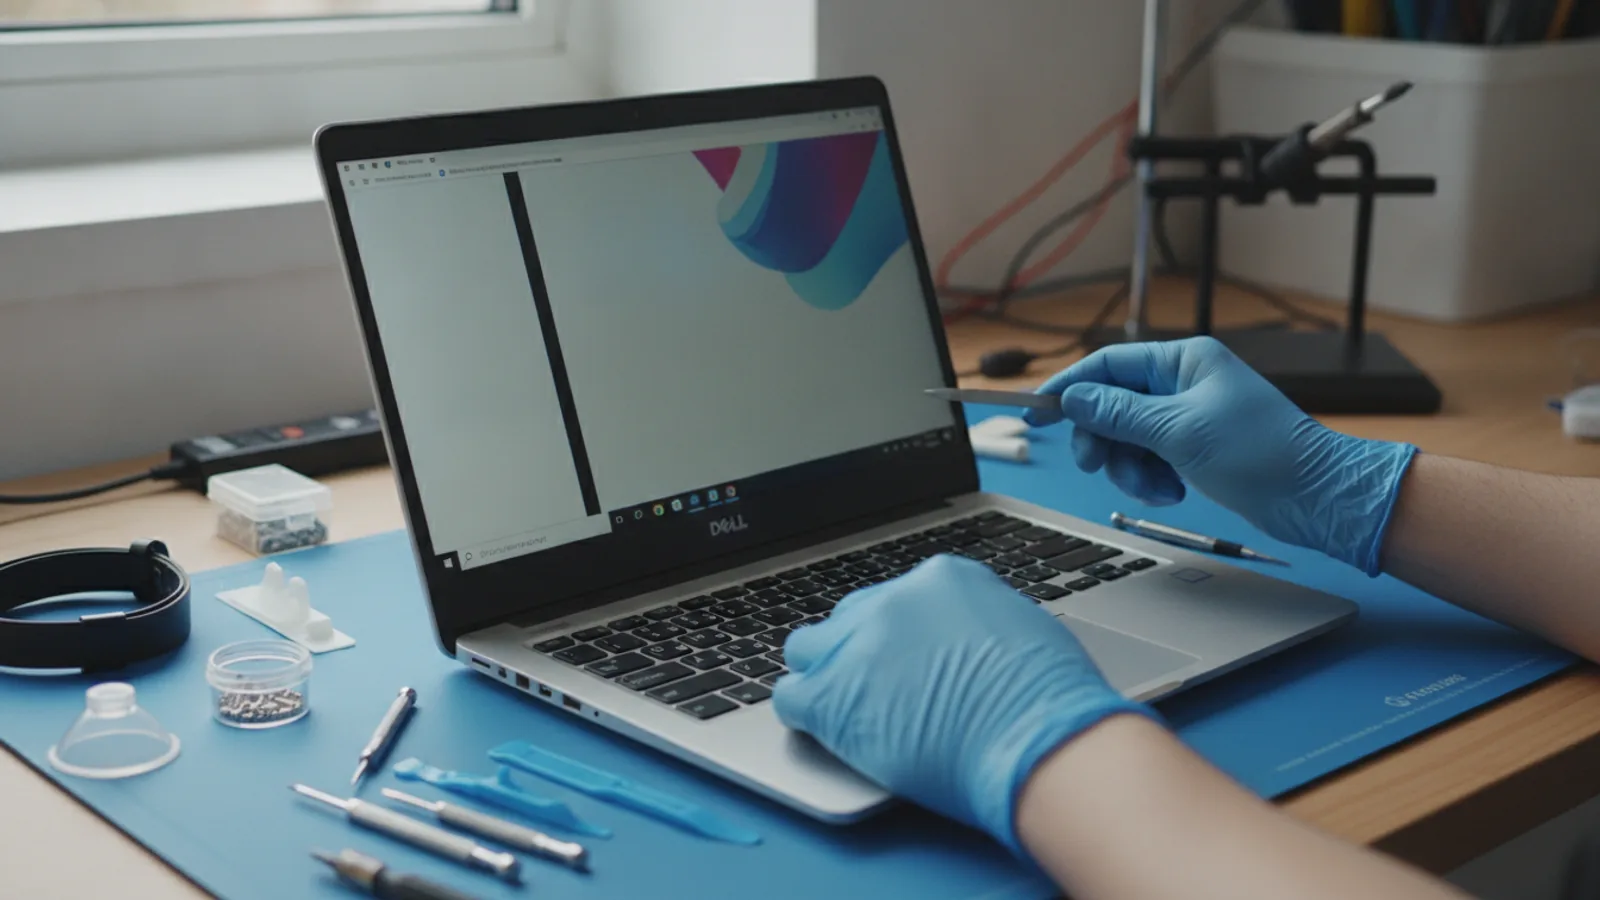
Seeing a black line on your Dell laptop screen can be alarming, suggesting anything from a simple software glitch to a serious hardware failure. This guide helps you diagnose the root cause systematically. We will walk you through a series of logical checks, starting with easy software-based fixes and progressing to hardware diagnostics. By following these steps, you can determine if the problem is something you can fix yourself, like an outdated driver, or if it requires a professional screen replacement.
Fast Answer
- External Monitor Test: Connect your laptop to an external TV or monitor. If the line doesn't appear on the second screen, the fault is with your laptop's physical display.
- Run LCD BIST: Restart your Dell and hold the 'D' key. This starts a built-in screen test. If the line is visible during this test, it confirms a hardware fault with the LCD panel.
- Update Graphics Driver: An outdated or corrupt graphics driver can cause display issues. Updating it can resolve software-related lines.
Before You Start
- An external monitor or television to test the video output.
- An HDMI, DisplayPort, or USB-C cable to connect to the external display.
- A stable internet connection for downloading drivers.
- Your Dell laptop's power adapter. Ensure the laptop is plugged in.
- For advanced hardware checks: A set of precision screwdrivers (usually a Phillips #0 or #1) and a plastic prying tool.
Step-by-Step Instructions
Step 1: Identify the Type of Black Line
First, observe the line closely as its characteristics can provide clues. Is it a perfect, razor-thin vertical or horizontal line? Or is it a thicker, more irregular black bar? Does it flicker, change colour, or stay solid black? Vertical lines often point to a failure in the column drivers of the LCD panel itself, a common hardware fault. Horizontal lines can indicate a different type of panel defect.
Also, note if the line is present from the moment you turn the laptop on (during the Dell logo screen) or if it only appears once Windows loads. A line that is visible immediately points strongly towards a hardware issue, as software and drivers have not yet loaded.
Step 2: Restart Your Laptop
Before proceeding to more complex steps, perform a full shutdown and restart. This is a simple but essential step to rule out any temporary software glitches or memory errors that could be causing display artefacts. Don't just close the lid or use the sleep function.
Go to the Start Menu, click the Power icon, and select Shutdown. Wait for 30 seconds after the laptop has fully powered off, then press the power button to turn it back on. Observe if the black line reappears immediately.
Step 3: Test with an External Monitor
This is the single most important diagnostic step. By connecting your Dell laptop to an external display, you can isolate the problem. If the black line is caused by your laptop's graphics card or software, it will be duplicated on the external screen. If the line is caused by a faulty laptop screen, the external display will look perfectly normal.
Find the appropriate video port on your laptop (usually HDMI, DisplayPort, or USB-C/Thunderbolt) and connect it to a TV or computer monitor. Once connected, press the Windows key + P to open the project menu and select Duplicate. Now, look at the external screen. Is the black line visible there? If the external screen is clear, the fault lies with your laptop's LCD panel or its connection. If the line also appears on the external monitor, the problem is likely with the graphics card or its drivers.
Step 4: Update Your Graphics Drivers
If the external monitor test was inconclusive or you suspect a software issue, the next step is to update your graphics drivers. Corrupt or outdated drivers are a common cause of screen problems. The best source for drivers is Dell's own support website, as they are tailored to your specific hardware.
Open a web browser and navigate to the Dell Support website. Enter your laptop's Service Tag (usually found on a sticker on the bottom of the device). This will take you to a page with all the relevant drivers for your model. Find the "Video" or "Display" category, download the latest driver available, and run the installer package. The installer will guide you through the process. Restart your laptop once the installation is complete.
Step 5: Run the Dell LCD Built-In Self-Test (BIST)
Dell laptops include a powerful diagnostic tool that tests the screen independently of the operating system and graphics card. This test can definitively confirm if the LCD panel itself is faulty.
To run the test, first, shut down your laptop completely. Then, press and hold the 'D' key on the keyboard and, while holding it, press the power button. Your laptop will boot directly into the BIST. The screen will begin cycling through a series of solid colours (red, green, blue, black, white). Carefully inspect the screen during each colour change. If the black line is visible on these solid colour screens, it is a 100% confirmed hardware fault with the LCD panel. The panel itself is failing and will need to be replaced.
Step 6: Check the Display Cable Connection (Advanced)
This is an advanced step for users comfortable with opening their electronic devices. A loose or damaged display cable (often called an LVDS or eDP cable) can cause lines on the screen. The cable runs from the motherboard, through the laptop's hinge, to the back of the LCD panel. If the connection is loose at either end, it can create display issues.
Warning: Proceeding with this step will likely void your warranty and carries a risk of causing further damage if not done carefully. First, power off the laptop and disconnect the battery. You will need to find a disassembly guide for your specific Dell model online (e.g., search for "Dell XPS 15 9570 screen replacement guide"). Following the guide, you will typically need to remove the bottom cover and then the display assembly bezel to access the cable connection points on the motherboard and the back of the screen. Gently disconnect and then firmly reconnect the cable at both ends. Reassemble the laptop and test again.
Step 7: Assess the Next Steps
By now, you should have a clear idea of the problem's source. If the LCD BIST confirmed a screen fault, or if the line is only visible on the laptop display and not an external monitor, your only real solution is a screen replacement. You have two main options: a professional repair or a DIY replacement.
Contact a local, reputable computer repair shop and ask for a quote. Be sure to provide your exact Dell model number. Compare this cost to the price of a replacement screen online. If you are technically confident, you can order the correct panel and perform the replacement yourself using an online guide. However, for most users, a professional repair is the safer and more reliable option.
Quick Reference
| Situation | Use this | Why |
|---|---|---|
| Line appears on both laptop and external monitor | Update Graphics Drivers | This indicates a problem with the video signal generation (graphics card/software), not the laptop's physical screen. |
| Line ONLY appears on the laptop screen | Run LCD BIST (Hold 'D' key on startup) | This isolates the problem. A clear external screen means the fault is with the laptop's display hardware. The BIST confirms it. |
| Line flickers or changes when you move the lid | Check Display Cable Connection (Advanced) | Movement affecting the line strongly suggests a loose or frayed cable connecting the screen to the motherboard. |
| The black line is next to a visible crack | Screen Replacement | Physical damage has broken the liquid crystal display. This is not repairable and requires a full panel replacement. |
Common Problems When You Diagnose a Black Line On Laptop Screen Dell
The line disappeared but came back later.
This is a classic symptom of an intermittent hardware fault, most commonly a loose display cable. As you move the laptop or open and close the lid, the connection is temporarily restored, making the line vanish, only for it to return when the connection is lost again. This almost always requires opening the laptop to reseat or replace the cable.
I updated the drivers, but the problem got worse.
In rare cases, a new driver can have bugs or be incompatible with other system software. You can roll back to the previous driver. Go to Device Manager, expand Display adapters, right-click your graphics card, select Properties, go to the Driver tab, and click Roll Back Driver. If the option is greyed out, you may need to uninstall the current driver and find an older, stable version on the Dell Support site.
The Dell diagnostics (BIST) didn't show the line.
If the line is not visible during the LCD BIST but is present in Windows (and on an external monitor), this points away from the screen panel and towards the graphics card (GPU). This is a more serious issue. It could be a sign that the GPU itself is beginning to fail, which on most laptops means a motherboard replacement is needed.
Advanced Tips for black line on laptop screen dell
Finding the Exact Replacement Screen Part Number
If you decide on a DIY screen replacement, you must order the correct part. Laptop models can ship with several different compatible screens (e.g., HD vs. Full HD, different manufacturers). The only way to be certain is to disassemble the display and find the manufacturer's part number on a sticker on the back of the LCD panel itself. It will look something like "LP156WF6-SPB1" or "B156HAN01.2". Searching for this exact number will guarantee you get a compatible replacement.
Weighing the Cost of Repair vs. Replacement
Be pragmatic. Getting a professional quote for a screen replacement is a crucial step. In the UK, this can range from £150 to over £400 depending on the model (especially for high-resolution or touchscreen displays). If your Dell laptop is more than 4-5 years old, the cost of repair might approach or exceed the value of the device itself. It may be more economical to put that money towards a new or refurbished laptop.
Understanding Warranty and Consumer Rights
If your Dell laptop is still under warranty, do not open it. Contact Dell Support immediately. A single vertical line is a clear manufacturing defect and should be covered. In the UK, under the Consumer Rights Act 2015, goods must be of satisfactory quality. If the laptop is not very old, even if it's just out of the manufacturer's warranty, you may still have rights with the retailer you bought it from. It's worth exploring this avenue before paying for a repair.
Black Line On Laptop Screen Dell FAQ
Is a single black line a serious problem?
Functionally, it can be a minor annoyance or a major problem depending on its location. Structurally, it is almost always a sign of a hardware failure within the LCD panel. While the laptop may continue to work for years with a single line, the fault will not fix itself and has the potential to worsen over time.
Can a black line on my screen be fixed for free?
Yes, if the laptop is under its manufacturer's warranty and shows no signs of accidental damage (like cracks or water damage). This type of fault is considered a manufacturing defect and should be repaired by Dell at no cost. Contact their support service to start a claim.
How much does it cost to replace a Dell laptop screen in the UK?
The cost varies significantly based on the model, screen size, resolution, and whether it's a touchscreen. For a standard 15-inch non-touch Full HD screen, expect to pay between £150 and £250 for a professional repair. For high-end models like an XPS with a 4K touchscreen, the cost could exceed £400.
Will the black line get worse or spread?
It is very likely. The underlying failure in the screen's internal components that causes one line can often lead to more lines appearing over time. Sometimes a single line remains stable for years, but it's more common for the issue to slowly progress until the screen becomes unusable.
Final Checklist for black line on laptop screen dell
- Confirmed Problem Scope: Did you connect to an external monitor to determine if the issue is with the screen or the GPU?
- Ran Software Fixes: Have you fully restarted the laptop and updated the graphics drivers from the official Dell Support website?
- Performed Hardware Diagnostic: Did you run the LCD BIST (holding 'D' on startup) to get a definitive confirmation of a screen panel fault?
- Checked for Loose Cables: If comfortable doing so, did you check the internal display cable connections for any looseness?
- Assessed Repair Options: Have you received a professional repair quote and compared it against the value of your laptop and the cost of a DIY part?
- Reviewed Warranty Status: Have you confirmed whether your device is still under warranty or covered by consumer law before proceeding with a paid repair?