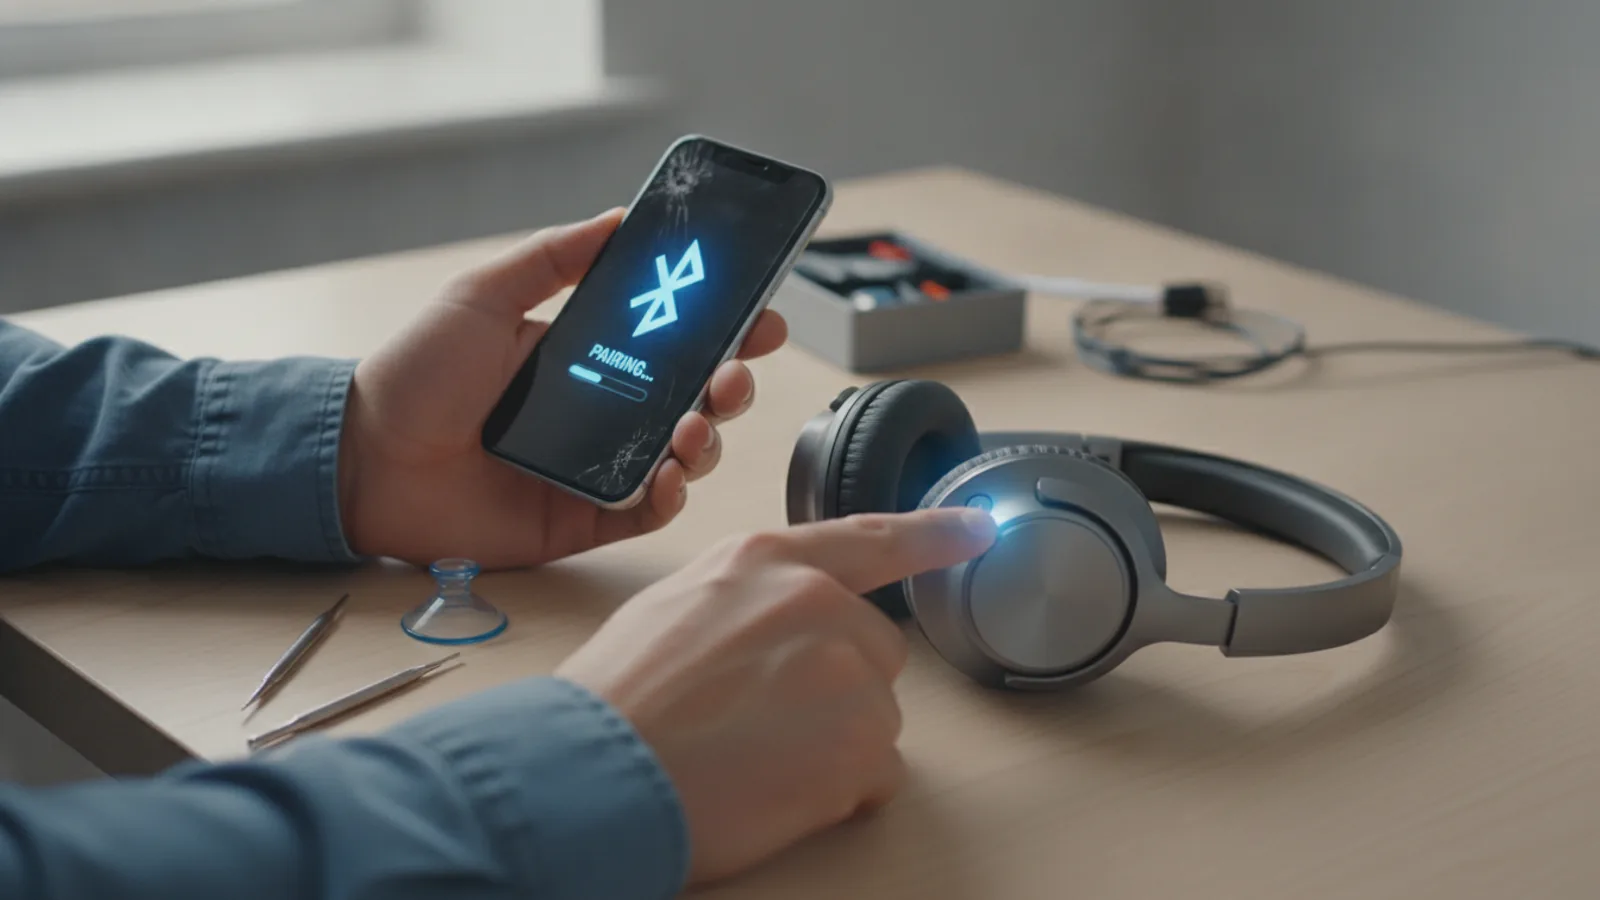
How To Connect Airpods To Laptop
A practical step-by-step guide to how to connect airpods to laptop, including preparation, instructions, common issues, tips, and next steps.

How To Connect Airpods To Laptop
Connecting your Apple AirPods to a laptop, whether it's a Windows PC or a MacBook, allows you to enjoy high-quality audio for music, video calls, and more. This guide will walk you through the simple steps to pair your AirPods with any Bluetooth-enabled laptop, troubleshoot common connection issues, and optimise your audio experience. It's especially useful if you're setting up new AirPods or switching them between your phone and computer.
Fast Answer
- Pairing Mode: Open AirPods case, hold rear button until light flashes.
- Laptop Bluetooth: Enable Bluetooth in laptop settings and select AirPods.
Before You Start
- Fully Charged AirPods: Ensure both your AirPods and their charging case have enough battery to complete the pairing process and for continued use. A low battery can sometimes prevent successful connection.
- Bluetooth-Enabled Laptop: Your laptop must have functional Bluetooth capabilities. Most modern laptops come with Bluetooth built-in. If yours doesn't, you might need a separate Bluetooth adapter (dongle).
- Basic Laptop Navigation: You should be comfortable navigating your laptop's system settings (e.g., "Settings" on Windows, "System Settings" on macOS) to access Bluetooth options.
- AirPods Case Nearby: You will need the physical AirPods charging case to put your AirPods into pairing mode.
Step-by-Step Instructions
1. Ensure Your AirPods are Charged and in Their Case
Before you begin the pairing process, it's important to make sure your AirPods and their charging case have sufficient battery life. Place both AirPods inside their charging case and close the lid for a few moments. If the case battery is low, connect it to a power source using a Lightning cable or a wireless charger (for compatible cases). A full charge ensures uninterrupted use and prevents connection dropouts caused by low power.
Check the battery status by opening the case near an iPhone or iPad, or by looking at the small LED indicator on the front of the case. A green light usually means a good charge, while amber indicates less than one full charge remaining for the AirPods.
2. Put Your AirPods into Pairing Mode
This is a crucial step to make your AirPods discoverable by your laptop. With both AirPods inside their charging case, open the lid. Look for a small, round button on the back of the charging case. This is the setup button.
Press and hold this setup button down for several seconds. The status light on the front of the charging case (or inside the case, depending on your AirPods model) will begin to flash white. This white flashing light indicates that your AirPods are now in pairing mode and ready to connect to a new device.
If the light flashes amber or green and then immediately goes solid, your AirPods might be connected to a nearby Apple device. Disconnect them from that device first, or turn off Bluetooth on that device, then try again.
3. Enable Bluetooth on Your Windows Laptop
If you're using a Windows laptop, you'll need to turn on its Bluetooth feature. Go to your laptop's settings by clicking the Start button (Windows logo) in the bottom-left corner of your screen, then selecting the cogwheel icon for "Settings".
In the Settings window, click on "Bluetooth & devices" from the left-hand menu. Then, locate the "Bluetooth" toggle switch at the top of the "Bluetooth & devices" section and ensure it is switched to the "On" position. Your laptop will now be able to search for and connect to Bluetooth devices, including your AirPods.
4. Enable Bluetooth on Your macOS Laptop
For macOS users, enabling Bluetooth is equally straightforward. Click on the Apple menu in the top-left corner of your screen, then select "System Settings" (or "System Preferences" on older macOS versions). In the System Settings sidebar, click on "Bluetooth".
You will see a "Bluetooth" toggle switch at the top of the window. Make sure this switch is set to the "On" position. Your Mac will immediately begin searching for discoverable Bluetooth devices in the vicinity. If Bluetooth is already on, you can skip this part, but it's always good to double-check.
5. Find and Connect to Your AirPods
Now that your laptop's Bluetooth is on and your AirPods are in pairing mode (flashing white light), it's time to make the connection. On your Windows laptop, in the "Bluetooth & devices" settings, click on "Add device". Then select "Bluetooth" from the options. Your laptop will scan for nearby devices.
On your macOS laptop, in the "Bluetooth" System Settings, look for your AirPods listed under "Devices" or "Nearby Devices". They should appear as "[Your Name's] AirPods" or simply "AirPods". Click on them to initiate the connection. A small "Connect" button might appear next to their name.
Once you see your AirPods listed, select them. Your laptop will attempt to pair. You may see a notification confirming the connection. The white flashing light on your AirPods case should turn solid green (if the lid is open and they are fully charged) or go out, indicating a successful pairing.
6. Confirm Connection and Test Audio
After your AirPods show as "Connected" in your laptop's Bluetooth settings, it's a good idea to confirm they are selected as the primary audio output device. On Windows, you can usually find the audio output selector by clicking the speaker icon in your taskbar. Make sure "AirPods Stereo" or "[Your Name's] AirPods" is chosen.
On macOS, click the volume icon in the menu bar (or go to "Sound" in System Settings) and select your AirPods from the list of output devices. Play some audio—a song, a video, or a system sound—to verify that the sound is coming through your AirPods. Adjust the volume using your laptop's volume controls.
Sometimes, your laptop might default to its internal speakers even after AirPods are connected. Manually selecting them as the output device will resolve this. If you plan to use your AirPods for video calls, ensure they are also selected as the microphone input device in your communication app's settings (e.g., Zoom, Microsoft Teams).
Quick Reference
| Situation | Use this | Why |
|---|---|---|
| AirPods not appearing in list | Re-enter pairing mode on AirPods; Disable Bluetooth on other devices. | Ensures AirPods are discoverable and not connected elsewhere. |
| AirPods connected but no sound | Check laptop's audio output settings; Increase volume. | Confirms AirPods are selected as the primary sound source and not muted. |
| Connection frequently drops | Reduce distance to laptop; Check for nearby interference (e.g., Wi-Fi routers); Update laptop's Bluetooth drivers. | Bluetooth is sensitive to distance and signal interference; out-of-date drivers can cause instability. |
| Poor audio quality or stuttering | Ensure "AirPods Stereo" is selected (not "Hands-Free AG Audio" unless on a call); Restart laptop and AirPods. | "Hands-Free" profile prioritises microphone, reducing audio quality. A fresh start can clear glitches. |
Common Problems When You Connect AirPods To Laptop
Connecting AirPods to a laptop is usually straightforward, but sometimes you might hit a snag. Here are some of the most common issues and how to resolve them, ensuring you get your audio working smoothly.
AirPods Not Appearing in the Bluetooth Device List
This is arguably the most frequent problem. If your AirPods don't show up when your laptop is searching for devices, it's often due to one of these reasons:
- Not in Pairing Mode: Double-check that your AirPods are correctly in pairing mode. The white status light on the case should be flashing. If it's solid green or off, they are not discoverable. Close the case, wait a few seconds, then reopen and hold the rear button again until the light flashes white.
- Connected to Another Device: AirPods are designed to quickly connect to the last paired Apple device. If your iPhone or iPad is nearby and has Bluetooth enabled, your AirPods might have automatically connected to it. Turn off Bluetooth on any other Apple devices you own before trying to pair with your laptop.
- Low Battery: AirPods with very low battery might struggle to enter or maintain pairing mode. Ensure they are sufficiently charged.
- Distance or Interference: Although less common, being too far from the laptop or having significant interference (e.g., strong Wi-Fi signals, other Bluetooth devices) can prevent discovery. Move closer to your laptop.
AirPods Connect But There's No Sound
Your laptop shows AirPods as "Connected," but you can't hear anything. This usually points to an audio output setting problem:
- Incorrect Audio Output Selected: Your laptop might still be trying to send audio through its internal speakers or another connected device.
- On Windows: Click the speaker icon in your taskbar (bottom-right) and select "AirPods Stereo" or "[Your Name's] AirPods" from the list of audio output devices.
- On macOS: Click the volume control icon in the menu bar (top-right) or go to System Settings > Sound > Output, and choose your AirPods.
- Volume Too Low or Muted: Check your laptop's volume levels. Sometimes, the system volume or the volume within a specific application might be muted or set very low.
- Application-Specific Issue: If sound works in some apps but not others (e.g., a specific video player or conferencing tool), check the audio settings within that application itself. Many apps have their own independent audio output selectors.
AirPods Disconnect Frequently or Have Stuttering Audio
A stable connection is key for good audio. If your AirPods keep dropping out or the sound is choppy, consider these solutions:
- Distance and Obstacles: Bluetooth has a limited range (typically up to 10 metres). Walls, furniture, or even your own body can interfere with the signal. Stay within a reasonable range of your laptop with a clear line of sight.
- Bluetooth Interference: Other wireless devices operating on the 2.4 GHz frequency (like Wi-Fi routers, microwaves, or other Bluetooth accessories) can interfere. Try moving to a different location or temporarily disabling other devices.
- Outdated Bluetooth Drivers (Windows): Old or corrupt Bluetooth drivers on Windows can cause instability. Go to Device Manager, find your Bluetooth adapter, right-click, and select "Update driver". You might need to visit your laptop manufacturer's website for the latest drivers.
- AirPods Firmware: While usually updated automatically via an iPhone/iPad, an outdated AirPods firmware can sometimes cause issues. Make sure your AirPods are up-to-date by connecting them to an Apple device first.
- Restart Everything: A classic fix for a reason. Restart your laptop and briefly place your AirPods back in their case, close the lid, wait, then reopen. This can clear temporary glitches.
Poor Audio Quality or Unclear Microphone Sound
If the sound is working but doesn't sound as good as you expect, or if people can't hear you clearly during calls:
- Bluetooth Profile: When using AirPods for calls, your laptop often switches to the "Hands-Free AG Audio" profile. This profile prioritises the microphone, leading to a noticeable drop in audio quality for playback (it sounds less rich, more compressed). If you're just listening to music or watching videos, ensure you've selected "AirPods Stereo" as the output device.
- Microphone Selection: For calls, ensure your communication app (e.g., Zoom, Microsoft Teams, Google Meet) is specifically set to use your AirPods as the microphone input device, not the laptop's built-in microphone.
- Interference: As mentioned before, interference can degrade audio quality. Try to minimise other wireless activity in your immediate vicinity.
Advanced Tips for How To Connect AirPods To Laptop
Once you've mastered the basic connection, these advanced tips can help you get even more out of using your AirPods with your laptop, improving convenience and performance.
Rename Your AirPods for Easy Identification
If you're in an environment with multiple AirPods, or you just prefer a personal touch, you can rename your AirPods. This makes them easier to spot in your laptop's Bluetooth device list.
- On macOS: Connect your AirPods to your Mac. Go to System Settings > Bluetooth. Find your AirPods in the list, click the "i" icon next to their name, then click on the current name to edit it.
- On Windows: Renaming AirPods directly from Windows is not always straightforward or natively supported in the same way as on macOS. The best way to rename them is to connect them to an iPhone or iPad, go to Settings > Bluetooth > [Your AirPods] > "i" icon > Name, and change it there. The new name will usually carry over when you connect them to your laptop.
Optimise for Voice Calls: Understanding Bluetooth Profiles
When you use your AirPods for a voice call on your laptop, the Bluetooth connection often switches to a different profile, typically called "Hands-Free AG Audio" or similar. This profile allows both a microphone input and audio output, but it significantly compresses the audio quality compared to the "AirPods Stereo" profile (which is for high-quality music playback).
- For Best Call Quality: When on a call, ensure your communication app is set to use your AirPods for both microphone and speaker. Understand that the audio quality for music during a call will be reduced.
- For Best Music Quality: When not on a call, always select "AirPods Stereo" as your audio output. If your laptop automatically switches to "Hands-Free AG Audio" after a call, remember to manually switch it back to "AirPods Stereo" for optimal listening.
Check for Software and Firmware Updates
Keeping your devices updated can resolve bugs, improve compatibility, and enhance performance:
- Laptop Operating System: Regularly update your Windows or macOS. These updates often include improvements to Bluetooth drivers and system stability.
- AirPods Firmware: AirPods firmware updates are usually handled automatically when they are connected to an iPhone or iPad. Periodically connect your AirPods to an Apple device, ensure they have sufficient charge, and are near the device with an internet connection to allow these updates to occur. Latest firmware can improve connection reliability and audio quality.
Manage Connected Devices and Multipoint Connection (for newer AirPods)
Newer AirPods models (like AirPods Pro 2nd Gen, AirPods 3rd Gen) support automatic switching between Apple devices. While this is great for Apple ecosystems, it can sometimes cause unintended switching if you're trying to stay connected to your laptop.
- Manual Control: If you find your AirPods jumping back to your iPhone, you might need to manually select them on your laptop each time, or temporarily turn off Bluetooth on your iPhone.
- "Connect to This iPhone Automatically" Setting: On an iPhone connected to your AirPods, go to Settings > Bluetooth > [Your AirPods] > "i" icon > Connect to This iPhone Automatically. You can change this to "When Last Connected to This iPhone" or "Never" if you prefer more control when using them with your laptop.
Troubleshoot Bluetooth Drivers (Windows Specific)
If you're experiencing persistent connection issues on a Windows laptop, especially after an OS update, your Bluetooth drivers might be the culprit.
- Open Device Manager (search for it in the Start menu).
- Expand the "Bluetooth" section.
- Right-click on your Bluetooth adapter (e.g., "Intel Wireless Bluetooth") and select "Update driver". Choose "Search automatically for updated driver software".
- If that doesn't work, try "Uninstall device", then restart your laptop. Windows will usually reinstall the driver automatically upon reboot.
- For the most up-to-date drivers, visit your laptop manufacturer's official support website, input your model number, and look for the latest Bluetooth drivers available for download.
How To Connect AirPods To Laptop FAQ
Q: Can I connect my AirPods to any laptop?
A: Yes, generally. As long as your laptop has Bluetooth capabilities, you can connect your AirPods to it. This applies to both Windows PCs and macOS laptops. If your laptop doesn't have built-in Bluetooth, you can use a USB Bluetooth adapter (dongle).
Q: Do AirPods work better with Apple laptops (MacBooks)?
A: AirPods are designed for seamless integration within the Apple ecosystem. When connected to a MacBook, they offer features like automatic device switching (if you also use an iPhone/iPad) and sometimes more stable connections due to optimised drivers. However, they function perfectly well as standard Bluetooth headphones with Windows laptops, albeit without some of the Apple-specific conveniences.
Q: How do I disconnect my AirPods from my laptop?
A: To disconnect your AirPods, you have a few options:
- Turn off Bluetooth on your laptop: This will disconnect all Bluetooth devices.
- Disconnect via settings:
- Windows: Go to Settings > Bluetooth & devices, find your AirPods, and click "Disconnect" or "Remove device".
- macOS: Go to System Settings > Bluetooth, find your AirPods, and click "Disconnect" or the "X" button to remove them.
- Put AirPods back in their case and close the lid: This will usually disconnect them from the current device if they aren't actively in use.
Q: Can I connect two pairs of AirPods to one laptop at the same time?
A: Generally, no. Most laptops' Bluetooth hardware and software are designed to handle only one audio output device at a time. While some advanced Bluetooth adapters or software might offer multi-device audio streaming, it's not a standard feature for most consumer laptops. You'll typically only be able to use one pair of AirPods at a time for audio output.
Q: Why are my AirPods quieter on my laptop than on my phone?
A: This can happen for several reasons:
- Volume Settings: Ensure your laptop's system volume and the volume within the specific application you're using are turned up to the desired level. Sometimes, your laptop's volume range might be set differently than your phone's.
- Bluetooth Profile: If your laptop has selected the "Hands-Free AG Audio" profile (which prioritises the microphone for calls), the audio playback quality and volume can be lower. Switch to "AirPods Stereo" for listening if you're not on a call.
- Driver Issues (Windows): Outdated or incorrect Bluetooth audio drivers on Windows can sometimes affect output volume.
Q: Do I need to re-pair my AirPods every time I want to use them with my laptop?
A: No. Once your AirPods are successfully paired with your laptop, they should automatically connect whenever you open their case (with AirPods inside) and your laptop's Bluetooth is on and within range. If they don't connect automatically, simply open your laptop's Bluetooth settings and select them from the list of previously paired devices.
Final Checklist for How To Connect AirPods To Laptop
Before you wrap up and enjoy your AirPods with your laptop, run through this quick checklist to ensure everything is set up correctly and you're ready for the best audio experience.
- AirPods Fully Charged: Confirm your AirPods and their charging case have enough battery.
- AirPods in Pairing Mode: Double-check the white flashing light on the case before attempting to connect.
- Laptop Bluetooth Enabled: Ensure Bluetooth is switched "On" in your laptop's settings.
- AirPods Visible in Device List: Verify your AirPods appear in your laptop's list of discoverable or paired Bluetooth devices.
- AirPods Successfully Connected: Make sure your laptop's Bluetooth settings show your AirPods as "Connected."
- Correct Audio Output Selected: Confirm your AirPods (e.g., "AirPods Stereo") are chosen as the active audio output device in your laptop's sound settings.
- Volume Levels Checked: Adjust your laptop's master volume and any application-specific volumes to a comfortable listening level.
- Test Audio Playback: Play a song or video to confirm sound is coming through your AirPods clearly.
- Microphone Checked (if applicable): If using for calls, ensure AirPods are selected as the microphone input in your communication app.
- Disconnected from Other Devices: If you experienced issues, verify AirPods aren't trying to connect to a nearby phone or tablet instead.
By following these steps, you should have a reliable and enjoyable audio experience with your AirPods and laptop. If you encounter any persistent problems, reviewing the common issues and advanced tips in this guide should help you troubleshoot effectively.